
What Happens From Prep Work to the Final Coat
Understanding the process of kitchen cabinet painting starts with knowing that most of the work happens before a single drop of paint goes on. The job includes cleaning, sanding, priming, painting, and curing time. Each step helps the finish last for years instead of months. When done the right way, cabinet painting gives your kitchen a fresh look without a full remodel.
What You Need Before Starting
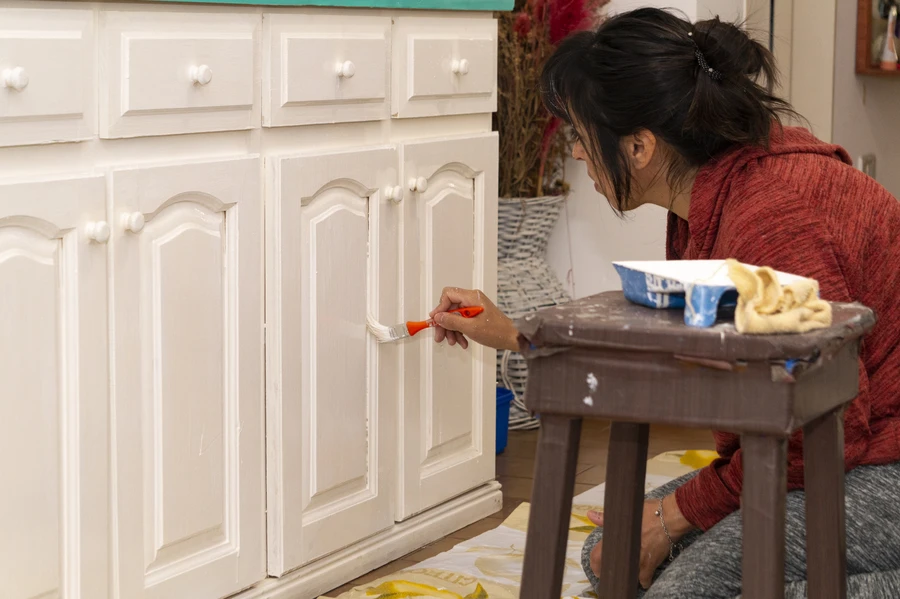
Before starting kitchen cabinet painting, gather the right tools and set up your space. Preparation makes the biggest difference in how smooth the cabinets look in the end.
- Screwdriver to remove doors and hardware
- Cleaning solution that cuts grease
- Sandpaper or sanding blocks
- Painter’s tape and drop cloths
- High-quality primer
- Paint made for cabinets
- Brushes and small foam rollers or a sprayer
You also need time. Cabinet painting is not a one-day job. Drying and curing take patience. Rushing can ruin the finish.
Step-by-Step Process
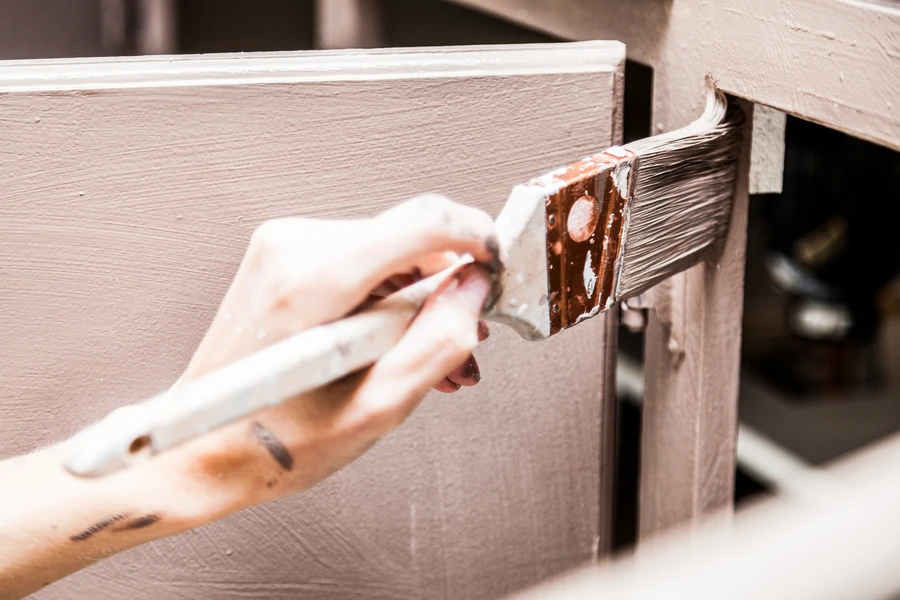
The process of kitchen cabinet painting follows a clear order. Skipping steps often leads to chipping or peeling later.
- Remove doors and hardware. Label each door so you know where it goes. Take off hinges and handles.
- Clean all surfaces. Cabinets collect grease from cooking. Use a strong cleaner and let everything dry.
- Sand the surfaces. Light sanding roughs up the old finish so primer sticks well.
- Prime the cabinets. Primer blocks stains and helps paint bond to the surface.
- Apply the first coat of paint. Use thin, even strokes. Let it dry fully.
- Lightly sand again. This smooths out dust bumps before the next coat.
- Apply the second coat. Most cabinets need two coats for solid coverage.
- Let everything cure. Paint may feel dry, but curing can take several days.
After curing, reinstall the doors and hardware. Adjust hinges so doors hang straight. This final step gives your kitchen a clean, finished look.
Common Mistakes to Avoid
Many DIY projects fail because of small skipped steps. Kitchen cabinet painting needs careful prep and steady hands.
- Not cleaning off grease before sanding
- Skipping primer
- Applying thick paint coats
- Not allowing enough drying time
- Painting over damaged wood without repairs
Thick coats often drip and look uneven. Greasy spots cause paint to peel. Taking your time helps you avoid these problems.
When to Call a Professional
Some cabinets are simple and flat. Others have grooves, raised panels, or old finishes that are hard to cover. If the cabinets have water damage, deep scratches, or heavy wear, repairs may be needed before painting.
Professional painters often use spray equipment for a factory-smooth look. They also know how to control dust and drying conditions. If your kitchen is large or your schedule is tight, hiring help can save stress and mistakes. A skilled team can handle the full service category from prep to cleanup.
Final Thoughts and Next Steps
If you are thinking about kitchen cabinet painting in Missoula, MT, our team at Brian Freshour Painting is ready to help. We handle prep, priming, painting, and clean up with care. We work hard to give smooth, lasting results that fit your style. Call us at (406) 360-1066 to schedule a time for us to look at your cabinets and talk about your goals.